Electrical
This page provides a "living document" of the Omni Commons electrical system. It is not necessarily completely accurate, though it strives to be, and is always important to get updated!
Primary Electrical System
- Main Panel (in Rise Above, room E of rear [48th St] exit)
- Panel A (adjacent to main in Rise Above)
- Panel AA (in Rise Above, on E wall adjacent to La Commune)
- Panel AB (in basement next to N staircase)
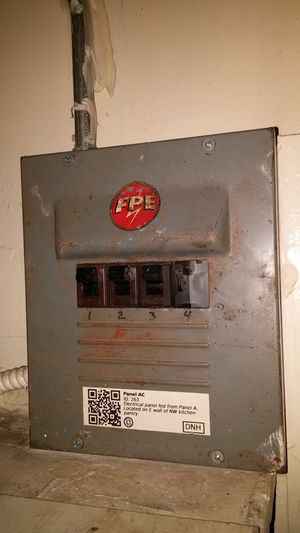
- Panel AC (in basement NW Kitchen Pantry, on E wall)
- Panel AD (located upstage left in N corner of W wall of ballroom)
- Panel ADA (in shower room on E wall)
- Panel AE (located in storage room S of stage in N corner of W wall of ballroom)
- Panel B (in Crow's Nest above stage in ballroom)
- Panel BA (in rear ballroom balcony near S wall)
- Panel BAA (on N wall of classroom between ballroom and La Commune)
- Panel BAAA (on S wall of la commune by entrance book cashier table)
- Panel BAA (on N wall of classroom between ballroom and La Commune)
- Panel BA (in rear ballroom balcony near S wall)
- Panel C (in Disco Room at base of ladder to DJ booth)
- Panel D (in Rise Above on E wall shared with La Commune)
- Panel A (adjacent to main in Rise Above)
X = Disconnected
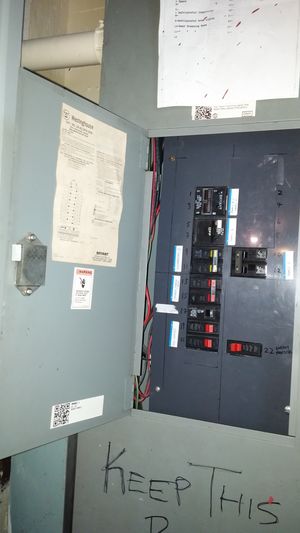
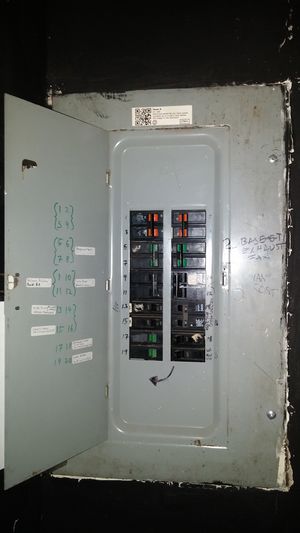
Main Panel
| Label -> | Breaker # | Breaker # | <- Label |
|---|---|---|---|
| Panel B & Panel D 200amps | 1 | 2 | |
| 3 | 4 | ||
| Panel A 200amps | 5 | 6 | |
| 7 | 8 | ||
| X | 9 | 10 | Panel C 100amps |
| 11 | 12 | ||
| Storage #5 / Trash Room | 13 | 14 | n/a |
| 15 | 16 | n/a | |
| Storage #5 / Trash Room | 17 | 18 | n/a |
| Counter Culture Labs (CCL) Closet |
19 | 20 | n/a |
| 21 | 22 | n/a | |
| n/a | 23 | 24 | n/a |
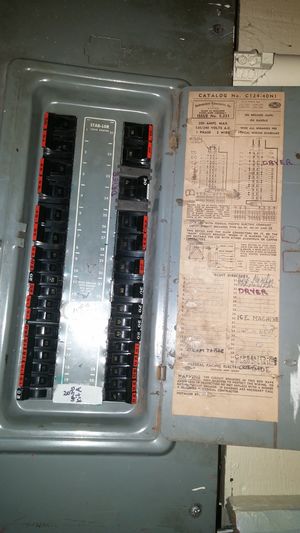
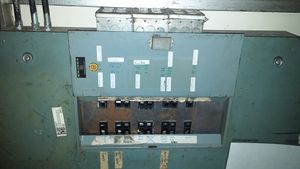
Panel A
200amps
| Label -> | Breaker # | Breaker # | <- Label |
|---|---|---|---|
| Panel AA (La Commune) | 1 | 21 | Panel AE |
| 2 | 22 | ||
| Panel AB | 3 | 23 | 220V plug (rise above dryer) via Panel AA |
| 4 | 24 | ||
| ? Panel AC | 5 | 25 | Panel AD |
| 6 | 26 | ||
| 7 | 27 | ||
| 8 | 28 | ||
| 9 | 29 | ||
| Upstairs (cafe mezzanine) kitchen light / Upstairs (cafe mezzanine) bathroom lights / Exit Sign at top of W cafe mezzanine staircase |
10 | 30 | Sudo Room outlets on South Wall |
| X | 11 | 31 | X |
| Hood over oven in upstairs kitchenette (cafe mezzanine) / W Wall Kitchenette Outlet (R of sink) / W wall kichenette outlet (Above oven in alcove) |
12 | 32 | |
| 13 | 33 | ||
| 14 | 34 | ||
| 15 | 35 | ||
| 16 | 36 | X | |
| 17 | 37 | Blue Classroom S wall outlets | |
| 2 TIL Office Lights (upstairs) / Front Door Exit Sign / Two Lights on Beam at entrance |
18 | 38 | |
| Light fixture and outlets in Blue Classroom alcove on N wall |
19 | 39 | |
| Upstairs kitchenette (cafe mezzanine) S wall outlets / W Wall Kitchenette Outlet (L of sink) / N wall kitchenette outlets (at entrance) / Outlets under bar on S Wall of Disco Room near S Wal of Kitchenette |
20 | 40 |
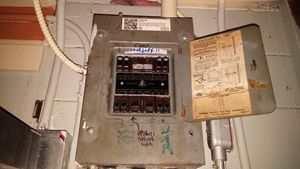
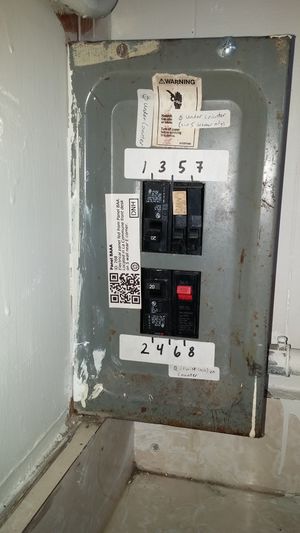
Panel AA
| Label -> | Breaker # | Breaker # | <- Label |
|---|---|---|---|
| 6 | 12 | ||
| 5 | 11 | ||
| 4 | 10 | ||
| 3 | 9 | wheelchair bathroom light & outlet | |
| 2 | 8 | ||
| 1 | 7 |
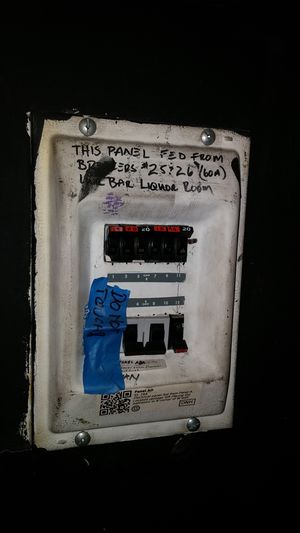
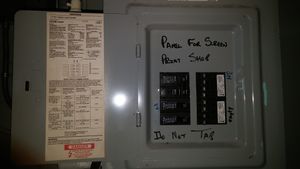
Panel AB
Panel AC
Panel AD
| Label -> | Breaker # | Breaker # | <- Label |
|---|---|---|---|
| Counter Culture Labs (CCL) E wall outlets |
2 | 1 | Stage Vanity Lights & NW Ballroom Bathroom Light & NW Bathroom Hallway Light |
| Panel ADA (2 x 30A) Former Hot Tub in Mezzanine Shower Room |
4 | 3 | Stage Left Ballroom Floor Outlets |
| 6 | 5 | Stage Right Ballroom Floor Outlets & Stage Right Outlets | |
| 8 | 7 | Upstage Center outlet & Stage Left Outlet | |
| 10 | 9 | Crow's Nest Interior light/fan & SW Ballroom Staircase Light & Ballroom Mop Closet Light & Lights beneath Ballroom Mezzanine | |
| SE Ballroom Bathroom Lights | 12 | 11 | GFI outlet (used for screen printing sink in Mezzanine Shower Room) |
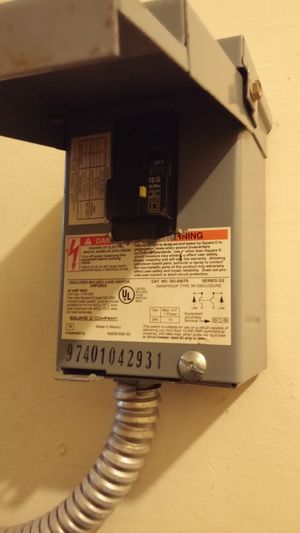
Panel ADA
| Label -> | Breaker # |
|---|---|
| Former Hot Hub | 1 |
Panel AE
| Label -> | Breaker # | Breaker # | <- Label |
|---|---|---|---|
| ? Runs Under Stage | 1 | 2 | Ballroom Under Bar Outlet #2 (from L) |
| 3 | 4 | Ballroom Under Bar Outlet #1 (from L) Ballroom Shattuck Entrance's Exit Signs (3) | |
| Ballroom Under Bar Outlet #3 (from L) |
5 | 6 | Stage Storage Room (office #3) Outlets |
| Ballroom Under Bar Outlet #4 (from L) |
7 | 8 | X |
| Ballroom Balcony S Wall Lights & SW Staircase Exit Signs & SE Staircase lights / exit signs & SW Ballroom wall outlets |
9 | 10 | X |
| X | 11 | 12 | X |
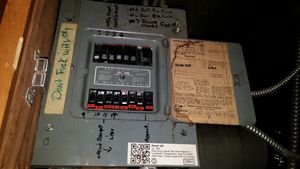
Panel B
100amps
| Label -> | Breaker # | Breaker # | <- Label |
|---|---|---|---|
| X | 1 | 2 | X |
| X | 3 | 4 | X |
| X | 5 | 6 | Basement Vent |
| X | 7 | 8 | |
| Panel BA (Ballroom Balcony) |
9 | 10 | Sudo Robot Arm |
| 11 | 12 | ||
| Sudo Room Servers | 13 | 14 | X |
| Outlets in Room adjacent to Crow's Nest |
15 | 16 | X |
| X | 17 | 18 | Exhaust Fans & Outlets in over-stage Crow's Nest |
| X | 19 | 20 | Sudo Room outlets on South Wall |
Panel BA
| Label -> | Breaker # | Breaker # | <- Label |
|---|---|---|---|
| Ballroom Fans | 1 | 2 | Balcony Chandelier (Single) |
| Ballroom Rafter/Lattice Disco Ball |
3 | 4 | Ballroom Chandeliers |
| X | 5 | 6 | |
| Aux #4 | 7 | 8 | Panel BAA (Office #1) |
| X | 9 | 10 | |
| Ballroom Rafter/Lattice Disco Ball Lights |
11 | 12 | X |
| Aux #1 | 13 | 14 | Aux #2 |
| Aux #5 | 15 | 16 | Aux #3 |
Panel BAA
| Label -> | Breaker # | Breaker # | <- Label |
|---|---|---|---|
| Panel BAAA in La Commune |
1 | 2 | n/a |
| 3 | 4 | n/a | |
| 5 | 6 | X | |
| n/a | 7 | 8 |
Panel BAAA
| Label -> | Breaker # | Breaker # | <- Label |
|---|---|---|---|
| n/a | 2 | 1 | Outlet Under Counter |
| n/a | 4 | 3 | Outlet next to Counter (1ft above floor) & Outlet under counter |
| Outlet (twist lock) on counter |
6 | 5 | Outlet under counter (circuit 5 breaker nfg) |
| 8 | 7 |
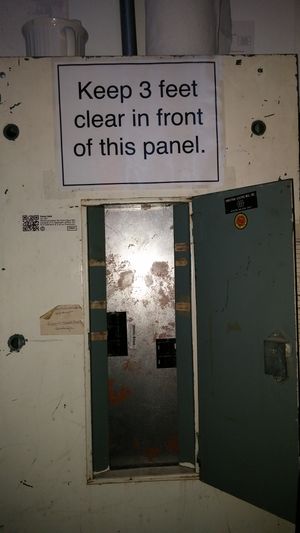
Panel C
I couldn't find this panel to take a picture --yar
Panel D
100 amps
Floorplans
- Panel Tree Diagram
{Placeholder}
- Annotated Floorplan
{Placeholder}
Documentation Protocol
Any building's electrical system is intended to serve the needs of the users of the building in a safe manner. However, we operate within constraints such as the historical developments of the electrical system, regulations, best practices, etc. In order to reduce ambiguity and risk, we must use a consistent documentation protocol throughout the system to understand and share knowledge of historical, current, and future uses.
Naming Convention
- Label the main electrical panel as "MAIN"
- Label the direct sub-panels of the main panel with a letter, e.g. "A", "B".
- Label each sub-panel that is connected to a first-tier sub-panel of the main panel.
- "origin panel letter" + "sub-panel letter" + ... (for each sub-panel add another letter) ...
- e.g. "AA" for the first sub-panel from panel "A"
- e.g. "AAB" for the second sub-panel attached to panel "AA"
- "origin panel letter" + "sub-panel letter" + ... (for each sub-panel add another letter) ...
- For each circuit, label each outlet, switch, and load with:
- the appropriate sub-panel name (described above) + "breaker number"
- e.g. All the outlets in one room that are on the same circuit should be labeled "CA4" meaning the circuit is on breaker 4 on panel CA, which is the first panel originating from panel C that connects to the Main panel.
- the draw on the curcuit
- e.g. 20 amps
- the appropriate sub-panel name (described above) + "breaker number"
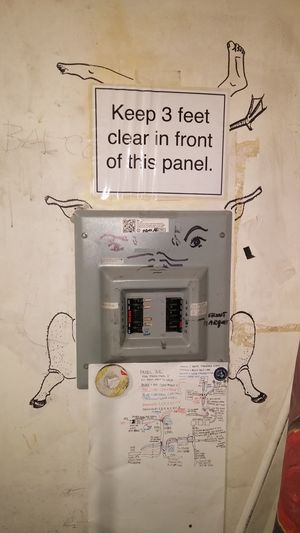
Here is the OLD breaker panel diagram
Protocol
- We are especially (not exclusively) updating our electrical system documentation on a room-by-room basis.
- As you work throughout Omni Commons, you should only use the system described above to map the electrical system.
- All other systems will be overridden.
- You can print this page and the building floorplans above in order to document the labeling you make on the actual outlets, panels, etc.
- After labeling and writing on the printed building floorplan, deliver it to any member of the Building Working Group.
